

Sew a Super Easy Baby Blanket in 7 Steps
Use Your Serger to Make This Super Easy Double Minky Baby Blanket in 7 Steps
I’m sure I’m not the only one anxiously getting ready for the arrival of a little one. Maybe your sister, friend, or daughter are expecting, and you want her to have something unique and meaningful as she brings a new life into the world to care for and nurture.
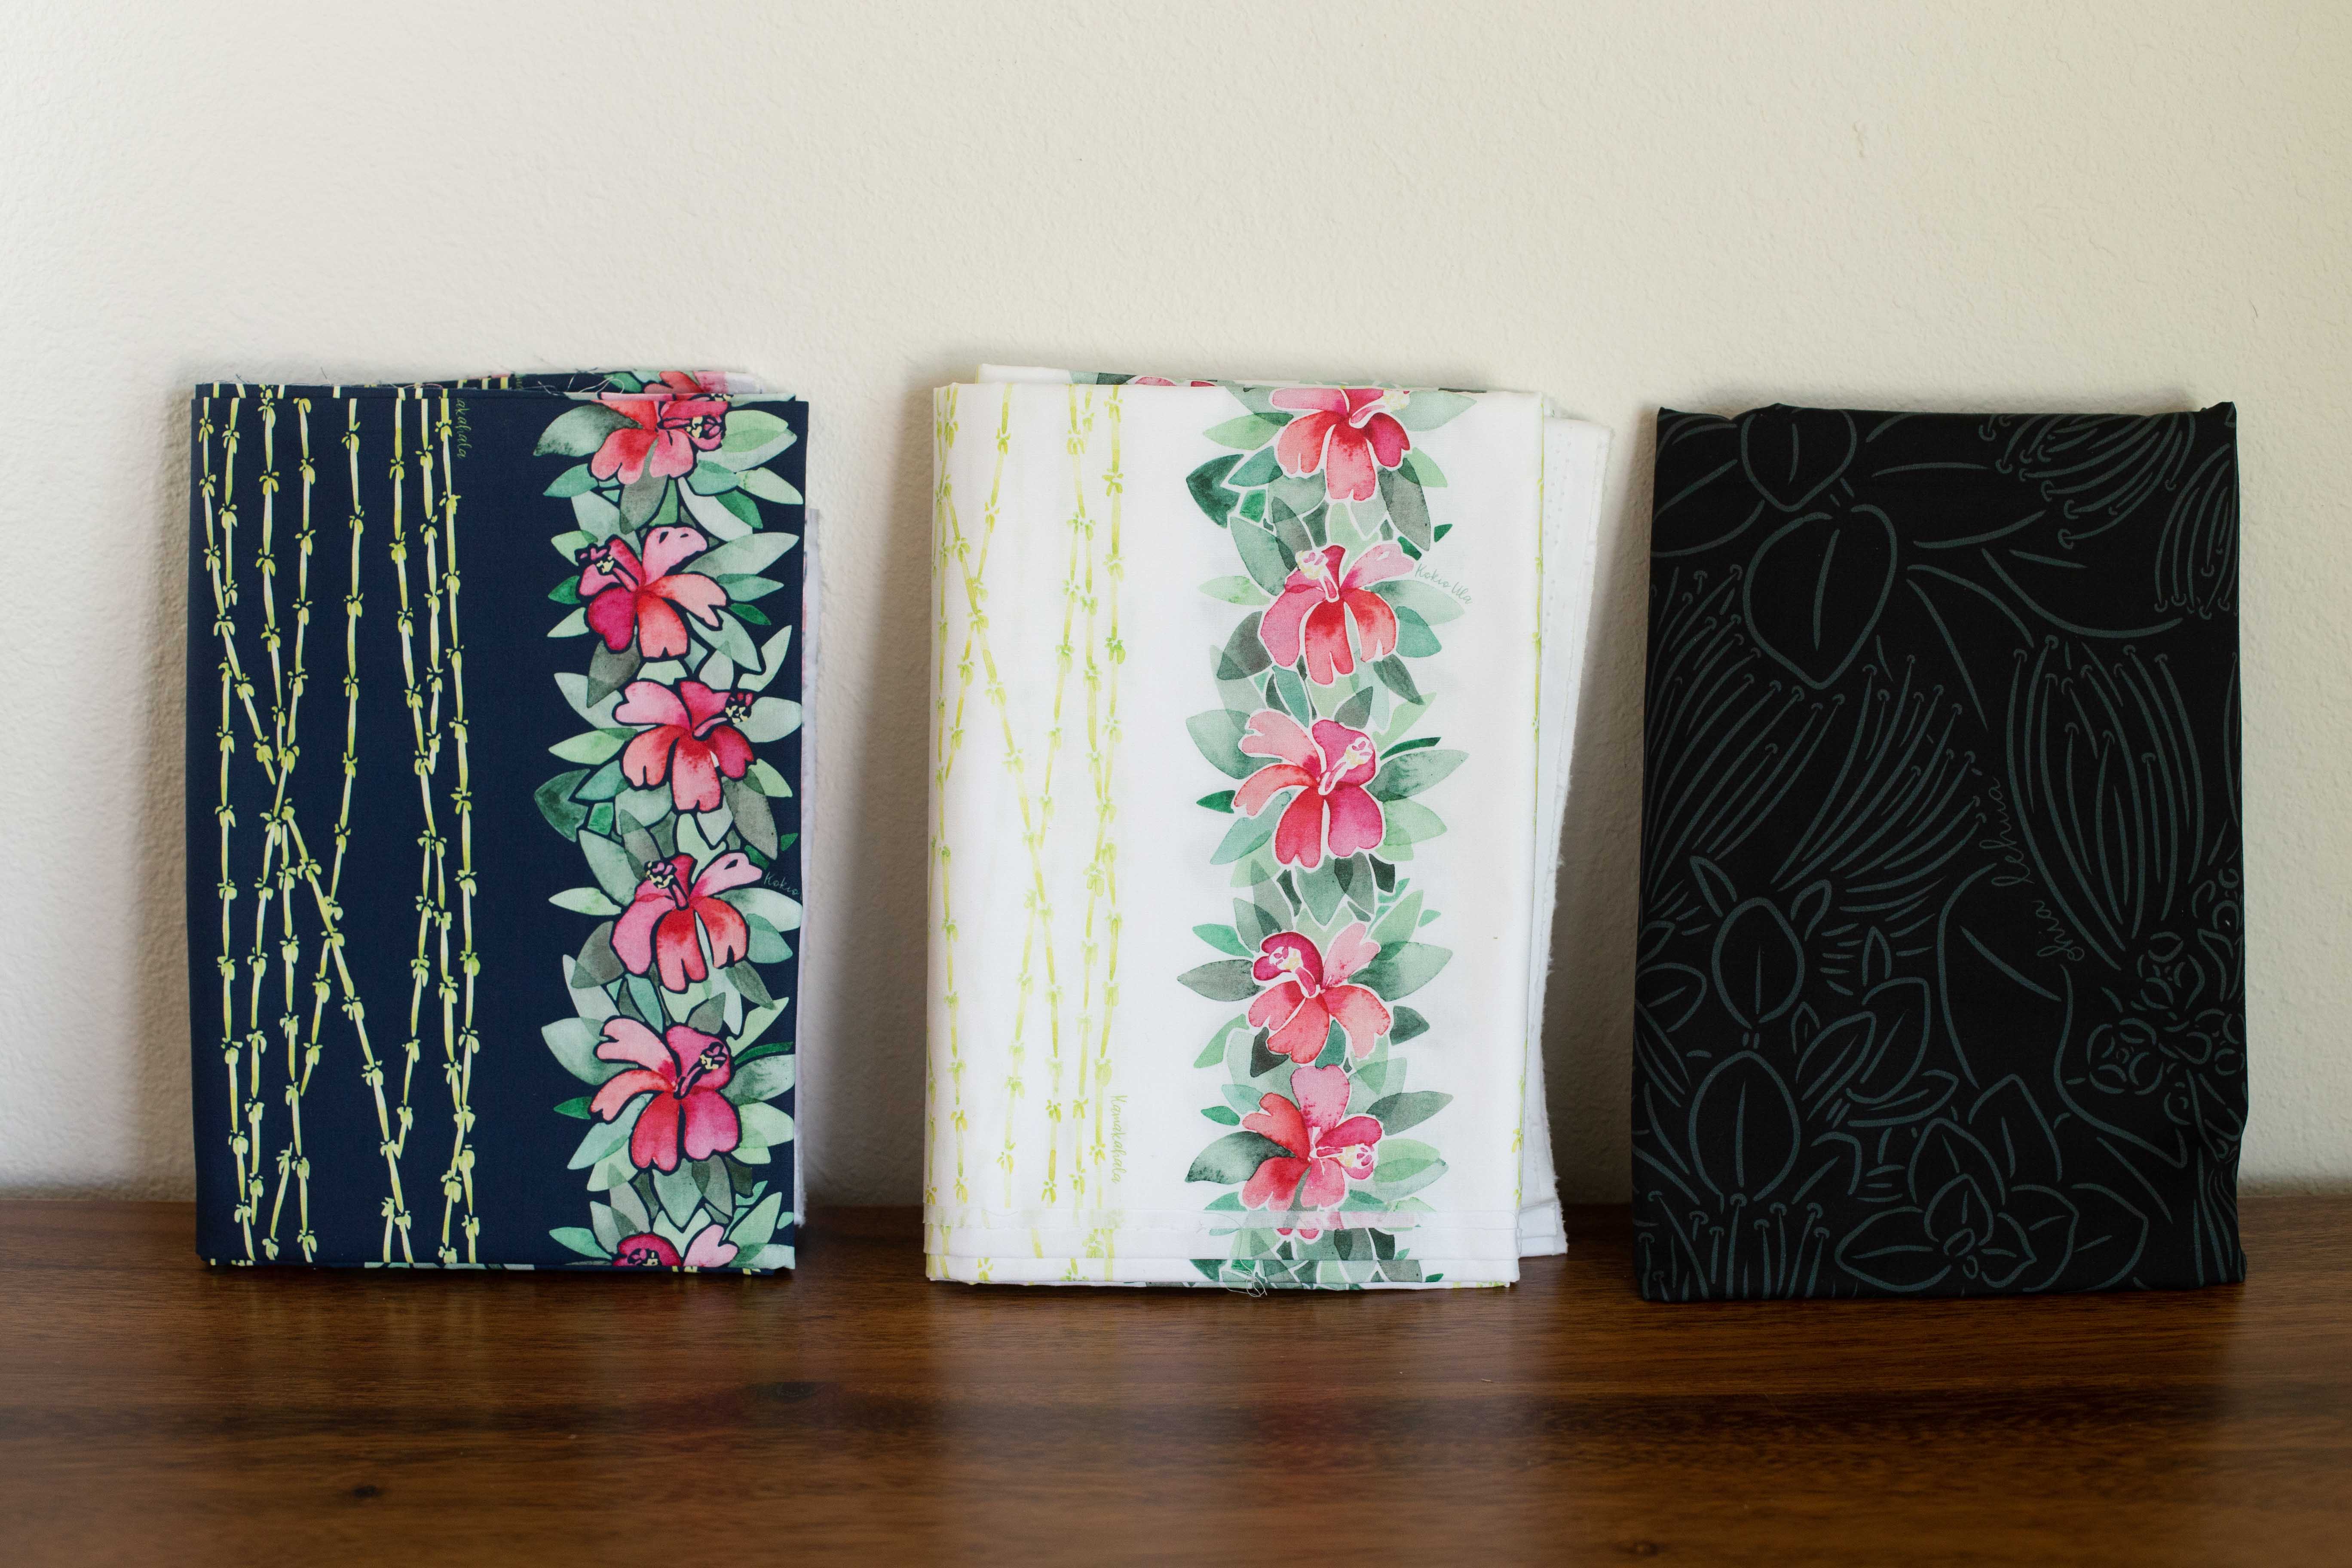
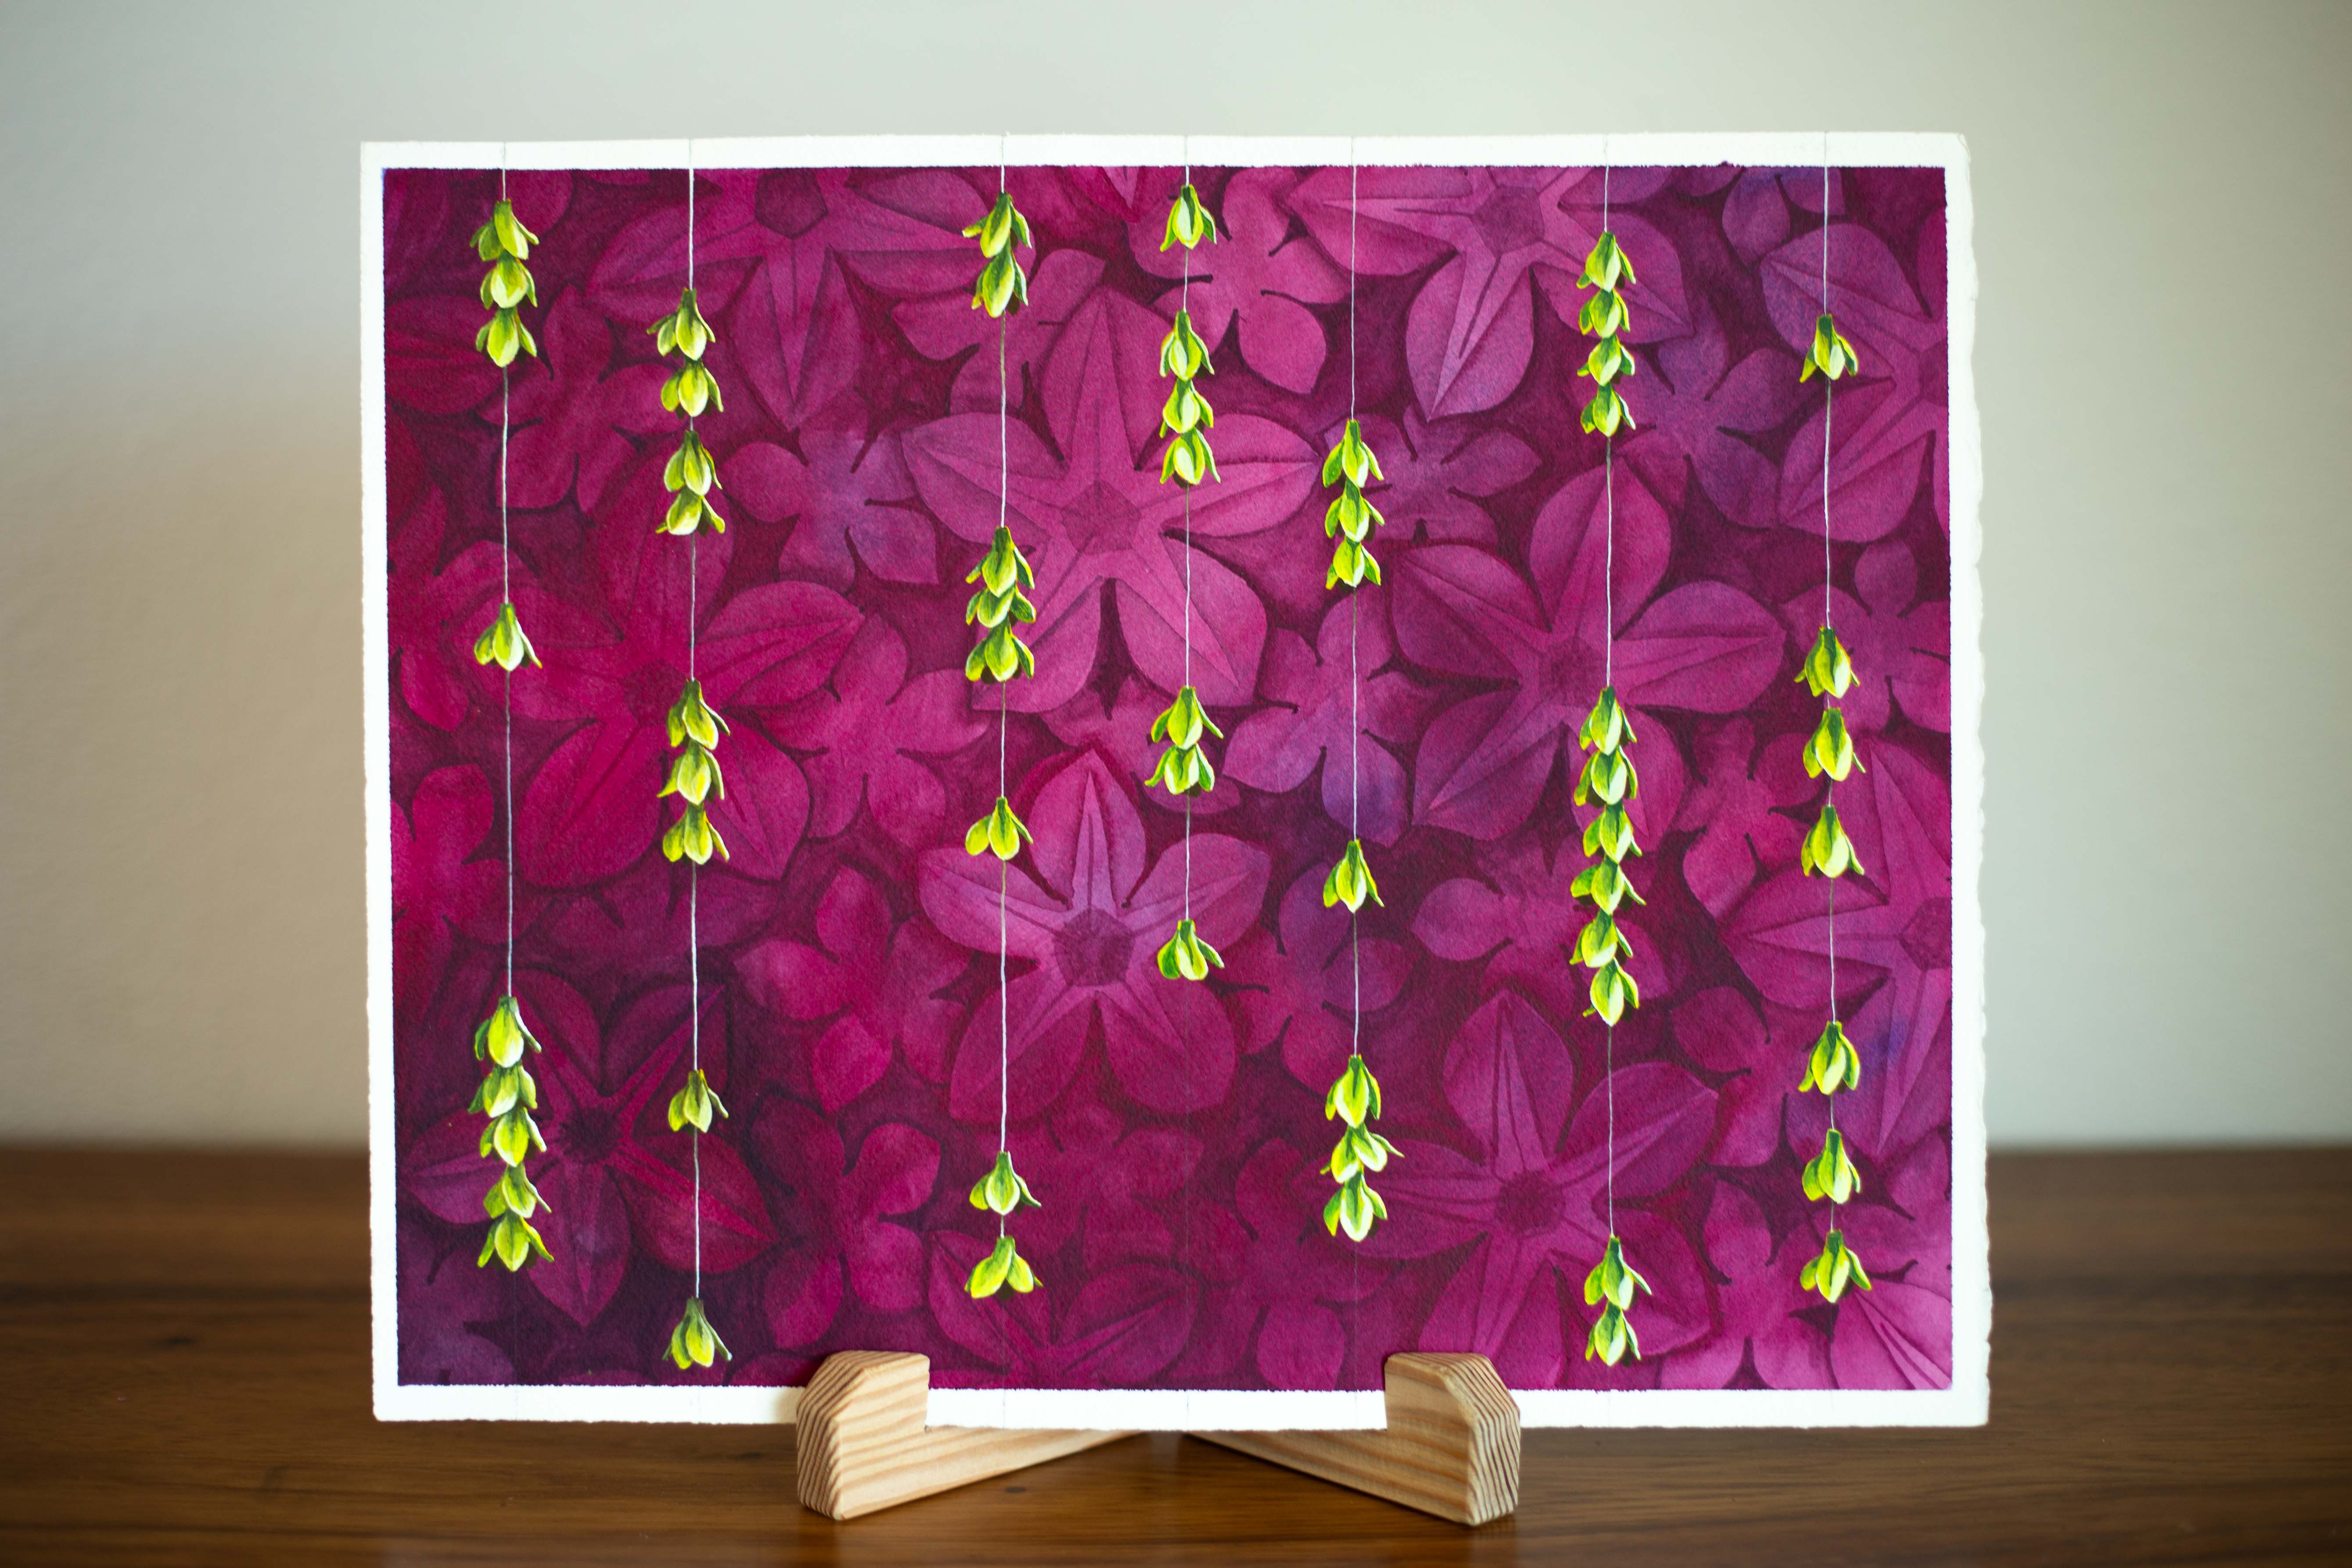
This Double Minky Baby Blanket is so (so) soft and one of a kind. (You won’t find it at the local Ross or Target.) Your gift will perpetuate your love for Hawaii and the love you have for the generations to come.
This blanket is really (really) quick to make with the right tools.
What you’ll need to make this Baby Blanket
- One Yard of Double Minky Fabric
- White Thread
- A Serger
- Large Cutting Mat
- Fabric Scissors
- Rotary Cutter
- Small sized bowl
Because it’s double minky you’ll only need one piece of fabric - saving you time and money. Double minky is minky on both sides so you don’t need to get another piece of fabric for backing. If you’re unfamiliar with minky it’s softer than fleece.
Whenever you’re ready, let’s go! (Set a timer and see just how quickly you can make this baby blanket… you’ll get even faster the more blankets you make.)


1. Start with one yard of double minky fabric. (My yard is a few inches longer than a typical yard on both sides so if you’ve got a yard from my shop your blanket will probably be a little larger than a typical blanket made from a yard.

2. Lay the yard of double minky fabric out and trim off the selvage edge on one side.

3. Fold (white sides together) into a triangle, origami style, so you’ll have a perfect square after the next step.

4. Cut off the extra white fabric. (Make sure to save the extra fabric for another sewing project I’ll be sharing next week).

5. Round off the corners. I like to use a bowl and rotary cutter to round off the corners (it makes serging so much faster when you have a curved edge rather than a straight one). Place the bowl in the far corner so it’s just touching the sides and, like the picture, you’ll just cut off the corner along the bowl for a nicely rounded corner.
Now let’s get to finishing the edge.

To avoid puckering, especially while serging the corners of stretchy fabrics: move the top knob on the side of the serger closer to 2. I learned this from a YouTube video and while I can’t explain it, I just know it works! Keeps it from rippling/waving on the edges.


6. Pick a spot and go ahead and serge around the whole blanket. I like to serge a hairline off the edge of the blanket to make the finish a little nicer.

7. Trim off the extra thread.
Aaaand done. (Stop the timer!)

This is what the finished edge looks like.
I recommend using white thread so it blends in on the white side (but the color of thread doesn’t matter that much).

This is a really really fast project with a Serger. If you have a regular sewing machine, it will take a little bit longer.

Here are a few adjustments you’re going to have to make if you have a regular sewing machine:
- You would NOT round the corners. I have yet to learn how to hem rounded corners so keep the edges straight and just fold them over or make mitered corners.
- You would hem the edges (about ½ inch and then fold another ½ inch because it’s such thick fabric).
Even if it takes a little longer without a serger, it’s still going to be quick because you don’t need two pieces of fabric, and you just can’t go wrong with how soft Double Minky is.
You can find this Kou Double Minky Fabric in my shop here.
You can see what Double Minky is still available in my shop here.
Did I mention that you’ll want to save your scraps for next week’s blog post? By the time we’re done, we’ll have a full array of gifts for your friend or moopuna - all from 1 yard of this double minky fabric.
Have you made this blanket? How fast did you make it? Who will you make one for? I want to hear all about it in the comments.


Leave a comment