

Coziest Baby Beanie in 4 Steps
Is there anything cuter than squishy baby cheeks with a stylish, cozy beanie?
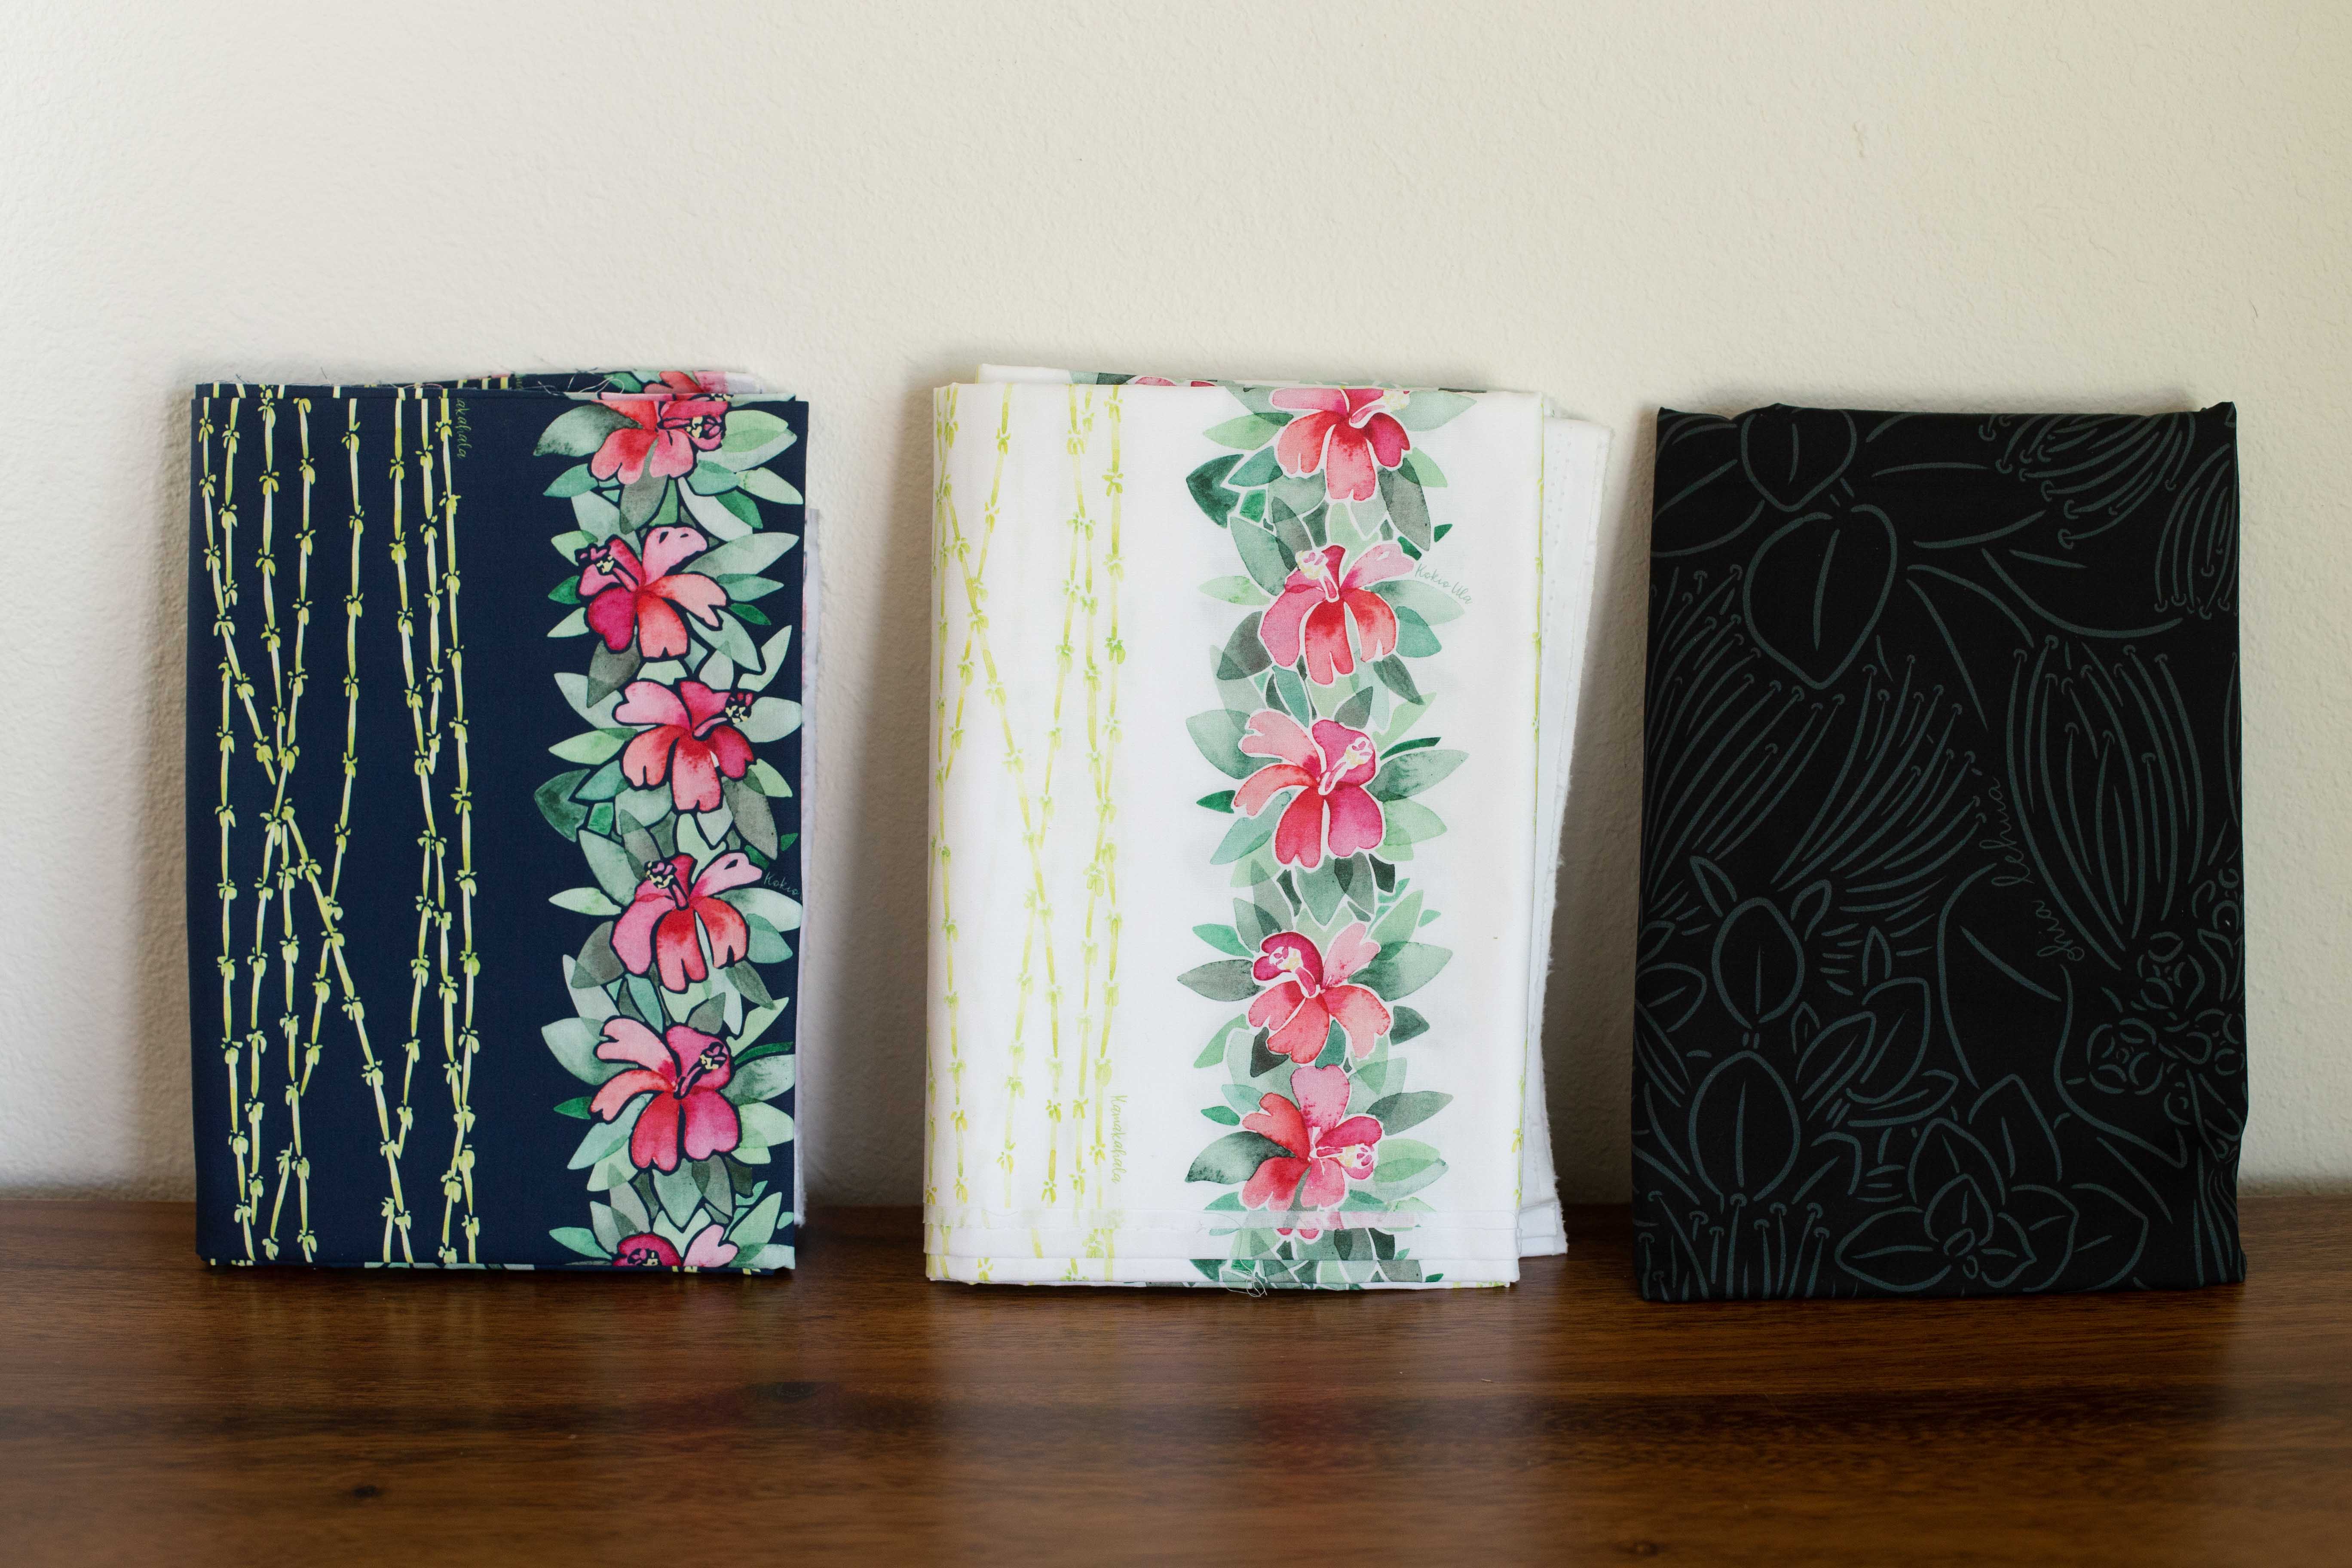
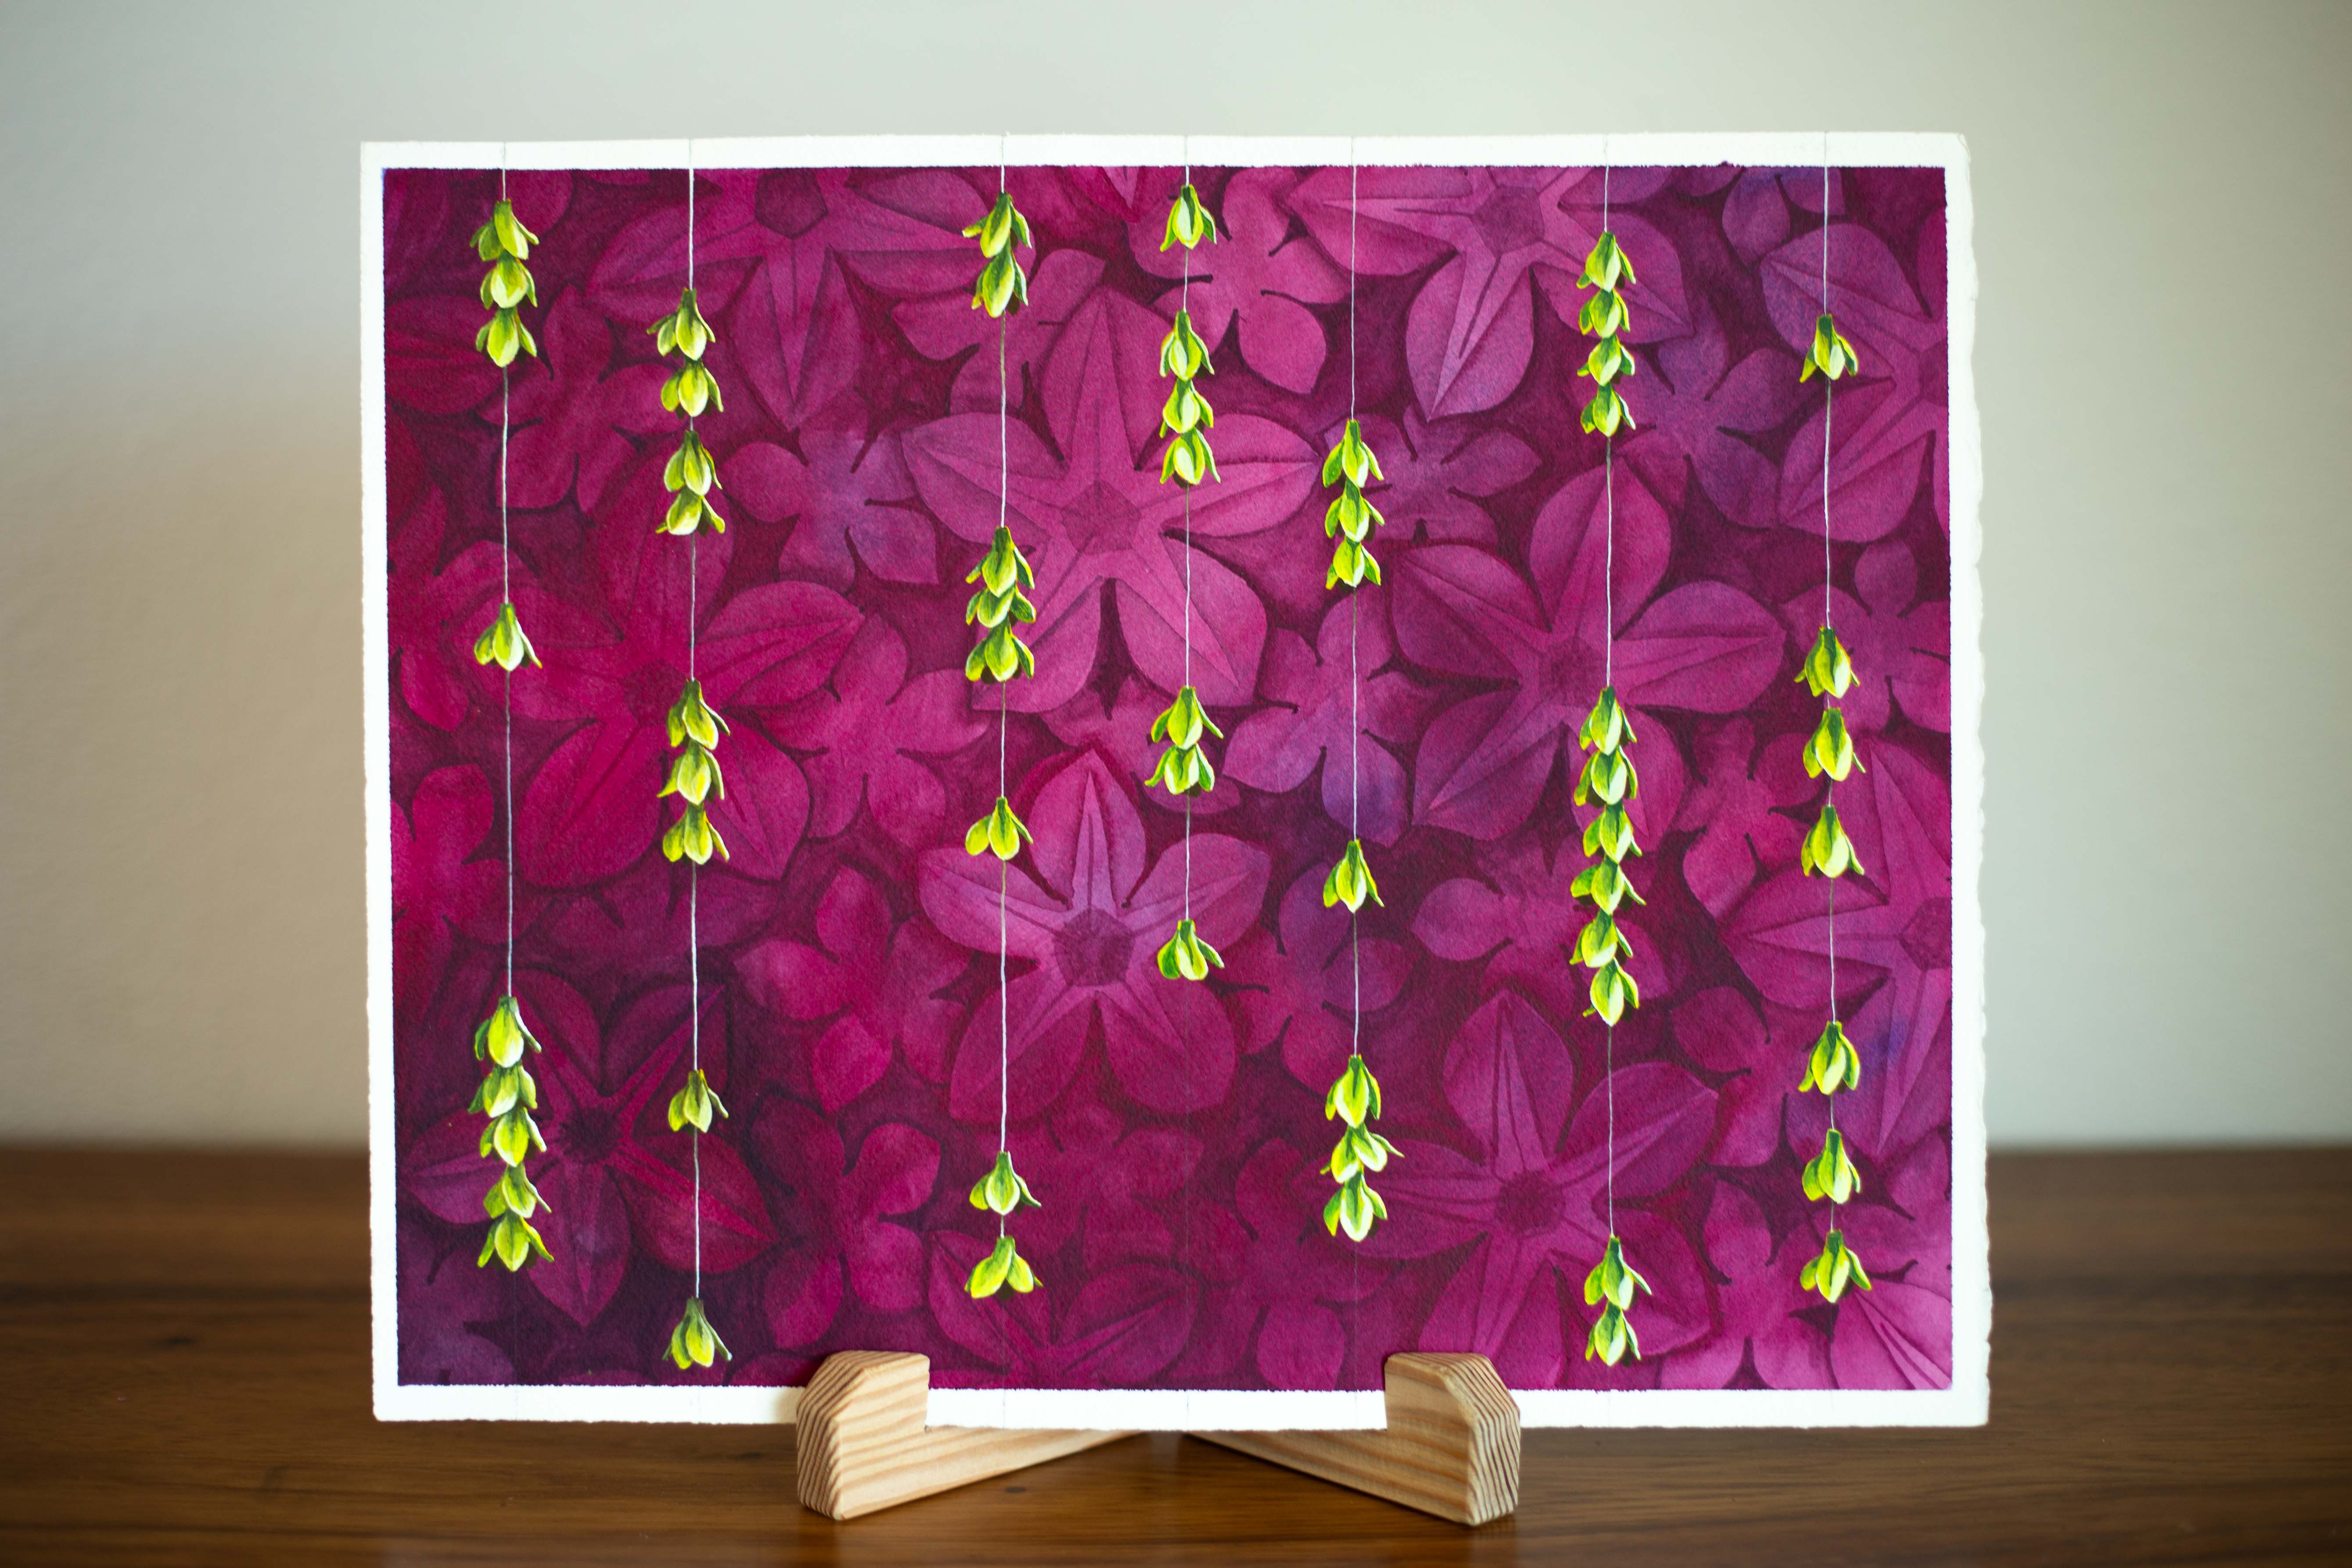
I have a friend who recently gave birth and it inspired me to make this baby beanie for her newborn. This is one of three baby gifts I made using only one yard of my Kou Double Minky fabric. This was made with the leftover fabric from the Double Minky Baby Blanket I posted about last week. If you don’t have or want to use double minky, I would recommend any kind of knit fabric (the Bamboo Lycra fabric would be nice) for a baby beanie.
For this baby beanie, I used a free pattern that you can find at Apple Green Cottage (go check them out). They have a few baby sizes and I chose to go with “baby small” for a newborn.
Because I’m using double minky, I made a few slight adjustments. I didn’t use the sew-in-flap of a different fabric, I just wanted it to be a continuation of the top and I added 1 ½ inches to the bottom of the pattern so it would have a rolled-up look.
If you prefer, you can watch the video of all these steps and see how I made it.
Things you’re going to need for this baby beanie:
- Apple Green Cottage Baby Beanie Pattern
- Regular sewing machine
- Thread
- Double Minky Fabric
- Cutting board
- Scissors
- Rotary Blade
I wanted to make this as easy as possible, so please read the tips!
- CUT out the pattern.
Layout your fabric, then fold the fabric in half. Lay down your pattern and (this is where I added that 1 ½ inches to the bottom of the pattern) cut out the beanie pattern through both layers of the fabric so you end up with two beanie pieces. I didn’t cut right on the lines and allowed [HOW MUCH SPACE?] around the rest of the pattern.
Cutting tip: I didn’t go into the divot the first pass. I cut it all the way out then came back and cut out the “v”.
- Fold each beanie piece right-sides together in half and sew along the edge where that middle “v” is.
I sewed with a regular sewing machine so there is just one thread line and it’s bordered by soft double minky. (The Serger left a very thick, threaded edge which I thought might be irritating for a newborn.)
After you sew the divot or “v” together it will have a nice, rounded shape perfect for a baby’s head.
- Put both pieces right-sides together and then sew them together (leave the straight bottom part unsewn.)
I sewed as close as I could to the edge and then went back and trimmed as much off I could just so there’s less bulk, and it makes it look nice. (Remember to clean up the extra thread.)
- Turn it right side out and roll up twice.
I skipped making the sew-in-flap from the original pattern, and instead made it a little longer to roll it up twice (then the length can be adjusted as needed depending on the baby.)
That’s it!
Now you have a cozy, stylish baby beanie for your friend or your own baby.
You can find this Kou Double Minky fabric in my shop, (and explore the other fabrics that are still available).
Thank you to Apple Green Cottage for this free baby beanie pattern.
It’s so easy and hardly uses any fabric, I recommend you give this pattern a try.
Let me know if you make this beanie, I’d love to hear about your experience.


Hi, please do not make any tutorials with our applegreencottage.com patterns, either paid nor free. Please feel free to direct people to our tutorial if you found our pattern but please do not make derivatives. Thank you. Applegren Cottage
Leave a comment