

How to Sew a Cheater Quilt
It's more fun to say it in Hawaiian - "Kuiki Kikiki" (btw that's my own made-up word for a cheater quilt combining the word cheat and quilt). A cheater quilt is a great way to make a beautiful quilt at the fraction of the time, headaches, and materials. A cheater quilt has the quilting design predesigned and printed on the fabric so all you have to do is put it with a batting and backing and sew it/finish it.
I'm not an expert seamstress, not even close, but I love crafting and as a busy mom and business owner - I have to find ways to accomplish more in less amounts of time. Below I will share how I make my cheater quilts.
Here are the steps:
1. Gather your supplies:
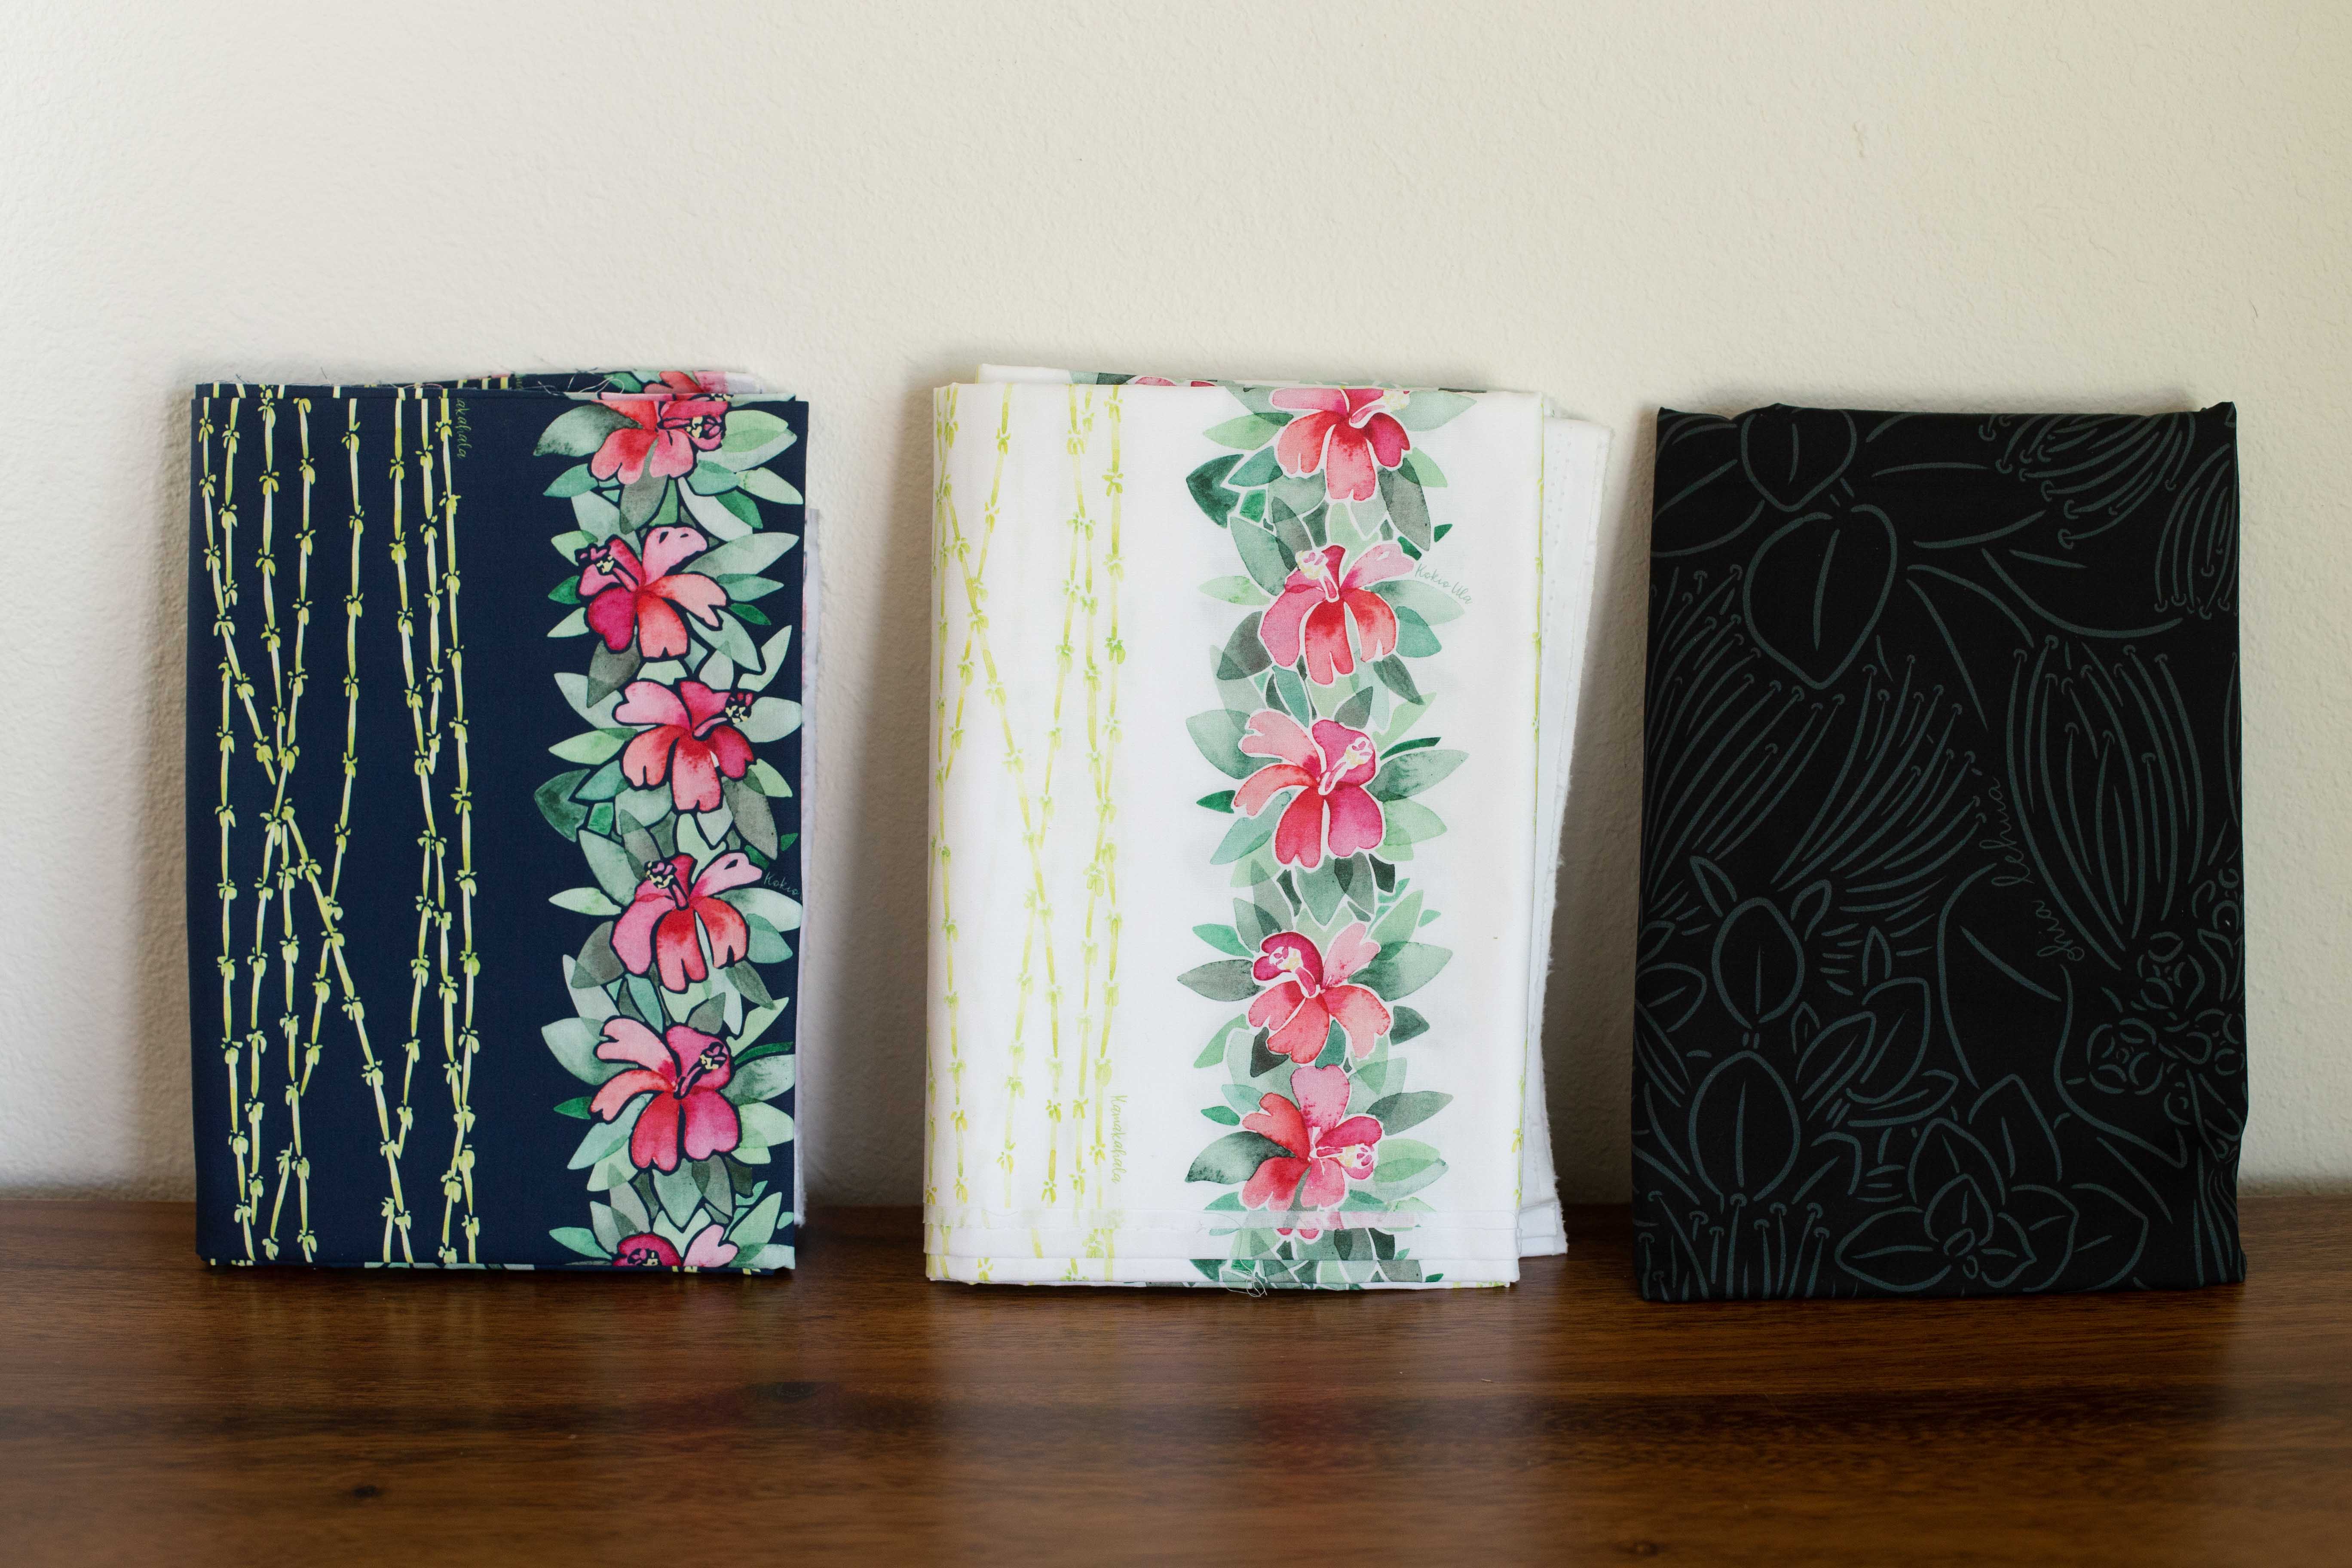
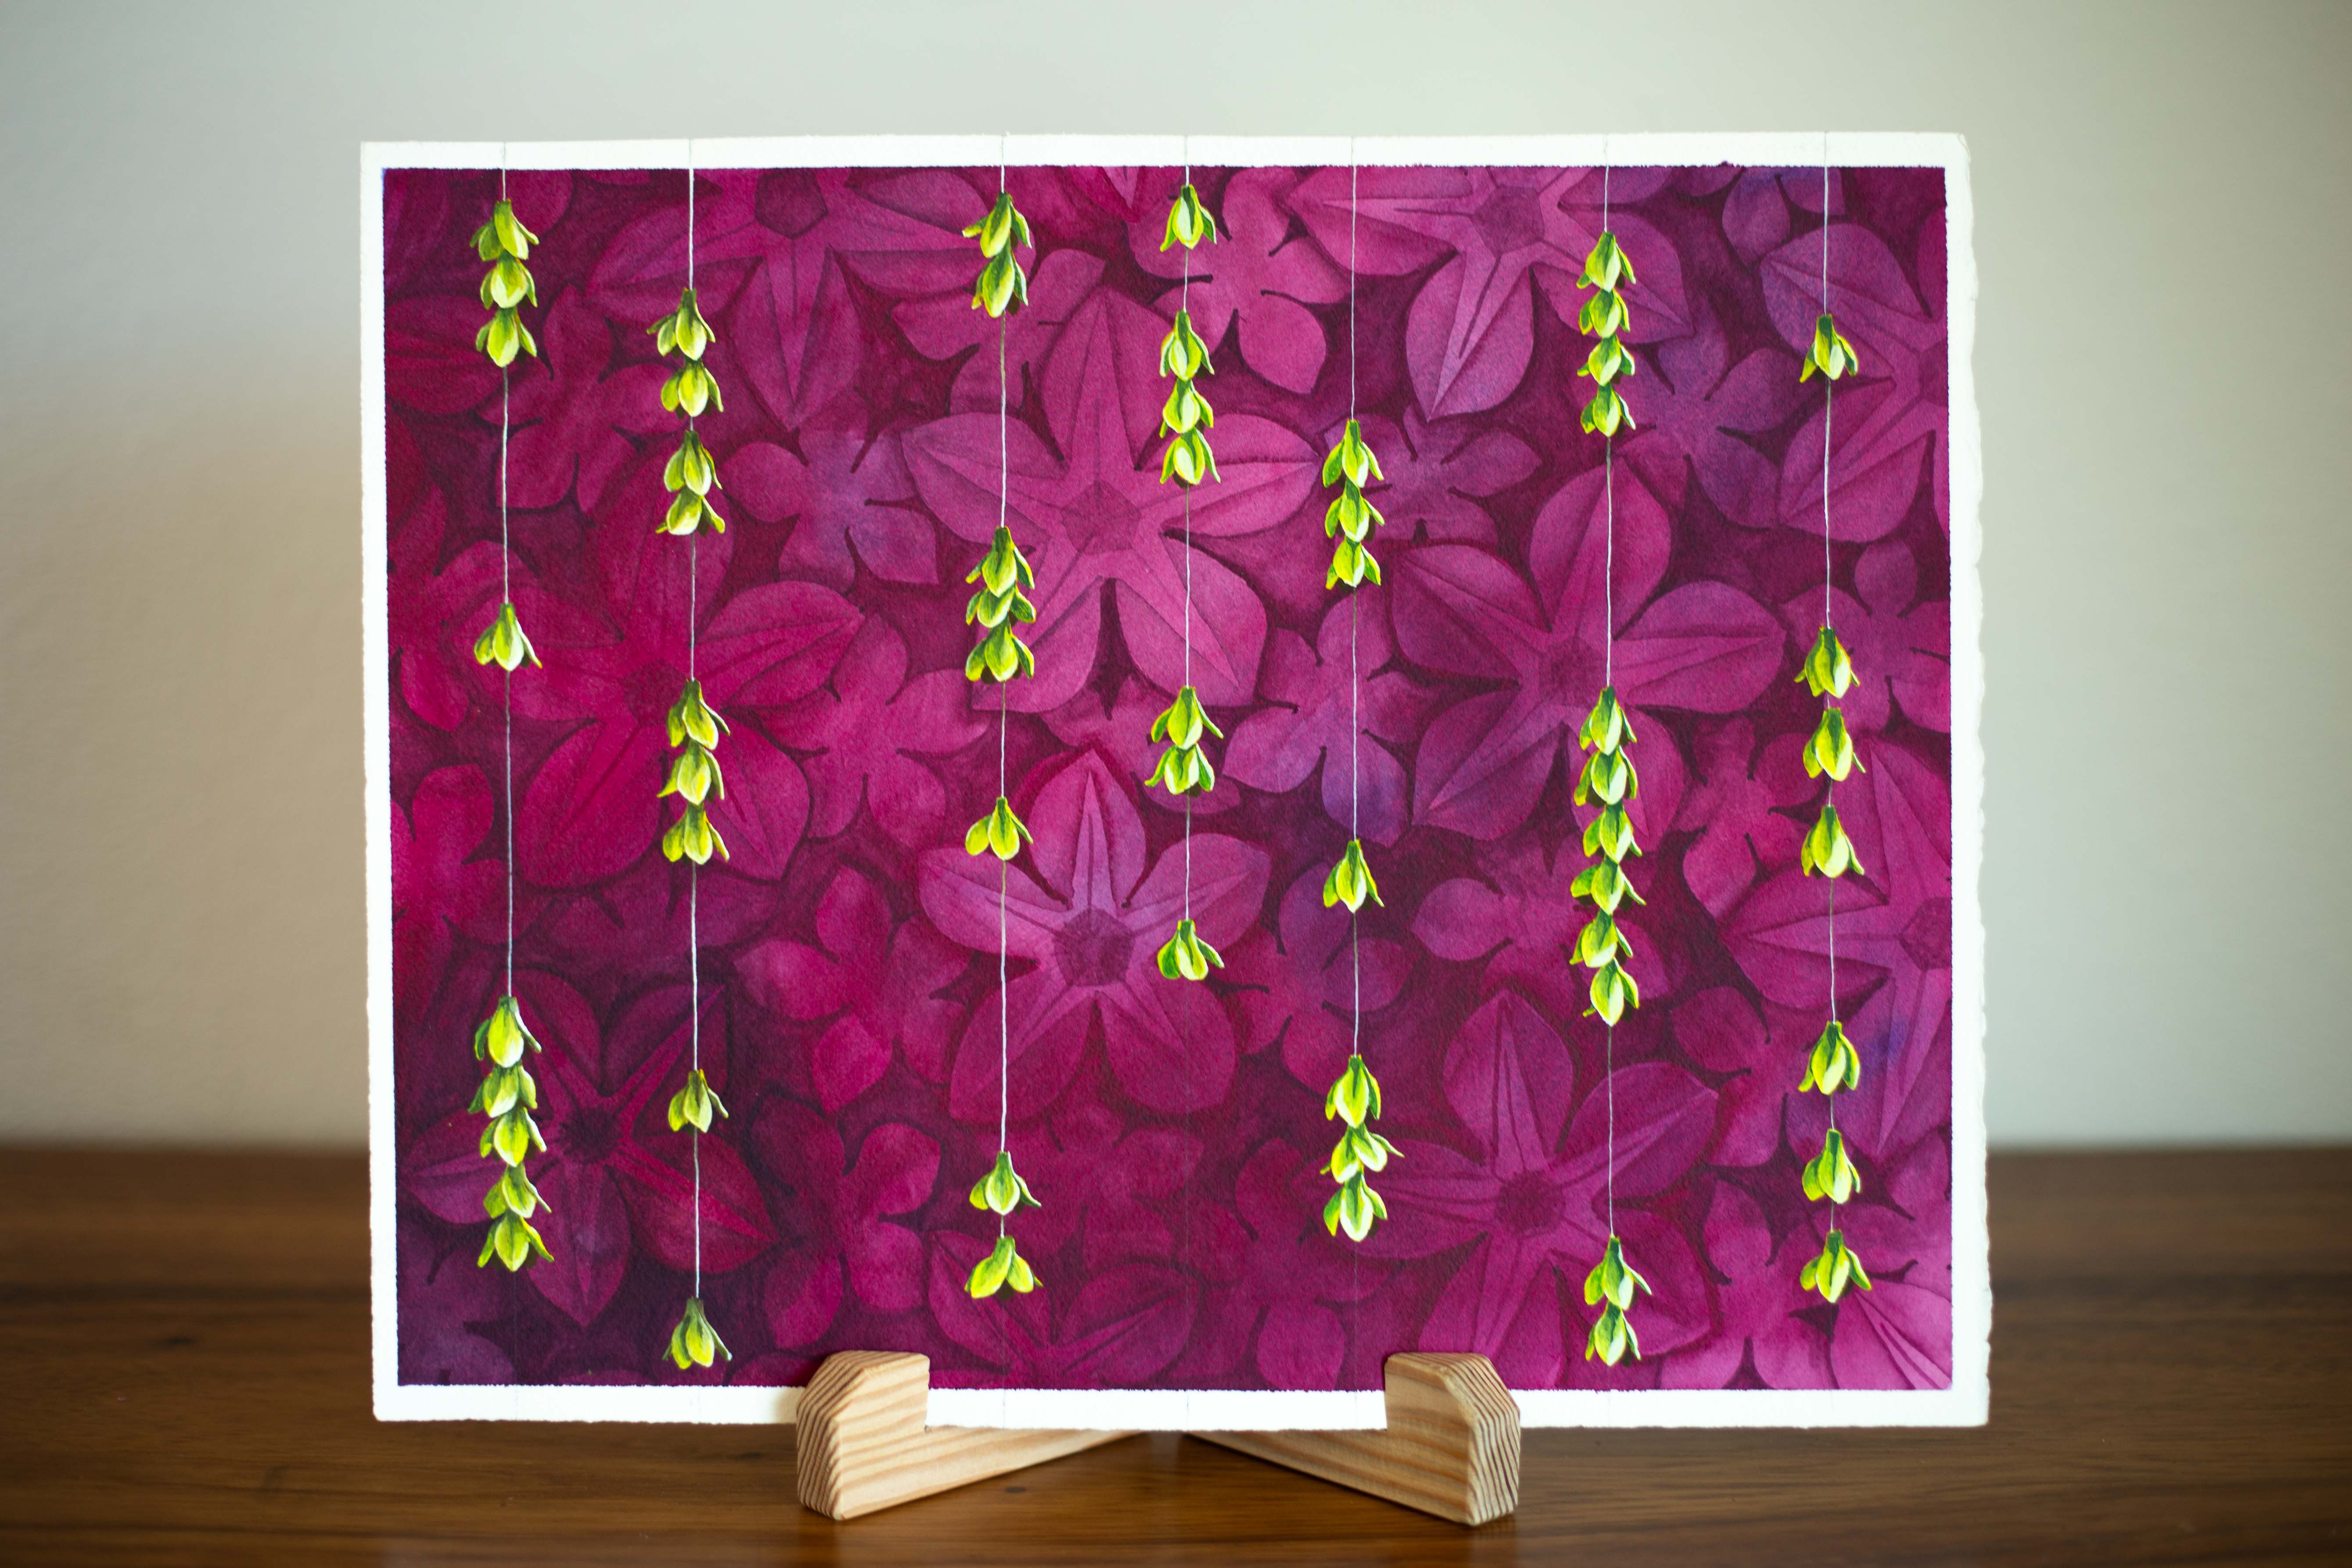
- You're going to need a cheater quilt topper. You can get them from me occasionally when I sell them. You can also design your own on sites like Spoonflower. Sometimes fabric stores have them in store too.
- Choose a batting that is the warmth and weight that you would enjoy to work with and use. To learn more about batting check out this post by The Batty Lady. You can purchase batting at your local fabric store or even online on sites like Amazon and Etsy. Make sure your batting is 100% cotton like the topper.
- Choose a backing color that matches your topper. I like to go with plain colors because I think it keeps the quilt top the focus. You can do a print for the backing, but I would suggest you choose a design that is subtle and matches the colors of your topper. Make sure your backing is 100% cotton like the topper and batting.
- I like using a cutting mat, sewing ruler, and rotary cutter for this project so I can cut and measure at the same time in straight lines.
- Thread.... up to you! I don't mind if my thread color shows so most of the time I stick with white thread.
- Iron all your pieces. If you don't iron your pieces then they won't flatten nicely while sewing and your fabric will bunch. I know this because it's happened to me many times until I finally decided to stop being lazy and iron the fabrics first.
- Note: you can wash your pieces first. I don't and I'll explain why later, but you definitely can.
- Center them in this order: quilt on top facing up then the batting under that and the backing on the very bottom.
- Smooth your layers and then pin them in place. Use as many pins as you have the patience to use. It helps a lot. And be sure to keep smoothing out the layers as you pin.
- Sew your horizontal and vertical lines. Sew all of them except for the ones on the very edge. You'll get to those when you finish the binding - no need to sew it twice.
- Tip when you sew is to stretch and watch your fabric as you go to make sure there isn't any noticeable bunching.
- Lay your quilt on a flat surface and separate the top 2 layers from the backing with a cutting board. Using a ruler - trim the top 2 layers to 1" away from the edge of the quilt design. Trim all the way around.
- Once you trim the top 2 layers, trim the backing (the bottom layer) 3" away from the edge of the quilt design. You can adjust the trimming to have a thinner boarder just make sure the backing trim is twice the width as the top two layer trim.
- NOTE: Because the design is printed on the fabric in one piece the outer squares may be a little misshaped. The printed boarder on the quilt piece is to help buffer for this. It give you wiggle room for when you finish the boarder using the bottom layer.
- How to sew a mitered corner? Use method 2 of this blog post by sewing guide.
- If you're just trying to sew it without too much confusion then you can fold over the edges on top of each other and sew it that way. It will just be slightly bulkier, but still great!
6. Pin the boarder in place
- Fold the backing to the edges of the top two layers and over one more time. It should cover the edge of the boarder and touch where the quilt design starts. Clip or pin in place around the entire quilt.
- Good time to pin the corners in too so you don't have to do it while sewing.
7. Sew the boarder
- Go slowly! This is the finishing stitch so you don't want it to be crooked. It will be noticeable. I try to sew 1/8 of an inch away from the quilt topper so that the edge doesn't catch or lift after.
8. Trim the loose edges and wash
- I actually suggest that you do this while you go because then the thread don't get jammed in the sewing machine, but I also don't do that all the time so if you're impatient like me then trim them all at the end.
- I like washing my cheater quilt after because I like how it shrinks and makes the fabric puffy in the square areas. To me, it gives the quilt more volume.
9. Your quilt is now ready for use or for gifting!
- I promise if you bring this item to a party as a gift - everyone will be thoroughly impressed with your work! You don't even have to tell them it only took you a few hours!
Tips:
- If this is your first time then take your time to do all the steps slowly. You don't want to have to unstitch mistakes that can be avoided by not rushing to the next step.
- Be sure to only cut the top two layers when you're trimming the quilt before hemming the boarder.
- Make it yours! Add your logo, tag, and story to what you create and finish.
For visual help. Check out my Instagram where I posted videos of these steps and this handout which you can print out and look at as you make your own quilt.


Hi, Can you please let me know when you will have more cheater quilt sets in. They look lovely!
Thank you!
Awww i missed it… please do again…please
Leave a comment